Note : Available in Italian here thanks to Gomitolandia !
A. Material
1. T-Shirt yarn (obviously ! :D )
2. A 12 or 14 mm crochet hook (which is between N/15 and P/19 !)
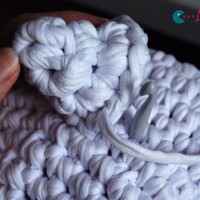
The crochet hook usually given in starting kits are made out of bamboo. Personally, I’m not very fond of those because of this :
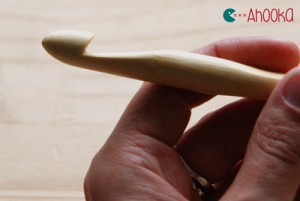
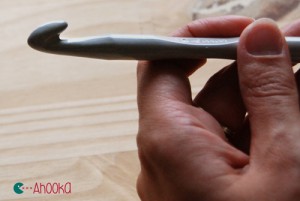
I find that little pointy notch isn’t practical at all ! It does grip de yarn, and prevent it from flowing. The only thing is that it’s not cold as the metal crochet hook.
3. A BIG tapestry needle : it will be necessary to wave in the ends. You could also use a smaller crochet hook to grab the yarn throught the stitches, but I did try that option, and it’s a real pain in the a** ! :D
B. T-Shirt yarn Pros and Cons
– It’s a very heavy yarn, so the finished items aren’t easy to handle (which is ideal for a rug, less for a pouch !) so you’ll be exercising your muscles all work long.
– Depending on the brand you use, and even more if you make it yourself, you are not guaranteed to find the exact same color again… So make sure you have the right amount of yarn before starting a project.
– T-Shirt yarn might also be very elastic.
– T-shirt yarn is recycled fabric, so, you may find some yarn pieces much thinner then others.
– Because this yarn is huge, you can make very quick projects.
– If you tighten your stitches, your work can easily become rigid.
– It’s a nice change !
C. Tips
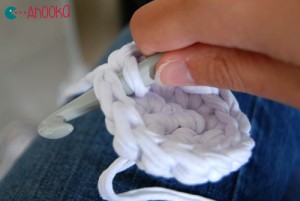
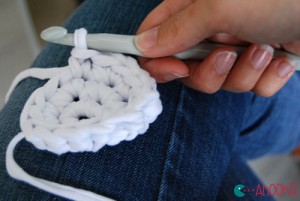
– As I said, this yarn is very heavy. Therefore, don’t hold your crochet hook as you usually would but hold it like a stake !
– For the same reason, keep your yarn ball standing on the floor, and unwind the yarn in advance. It will keep you from exercising your bicepes too much while crocheting)
– Be careful not to tighten your stitches too much, especially if your T-shirt yarn is very elastic. Try and practice a little bit with a sample.
D. Boo !
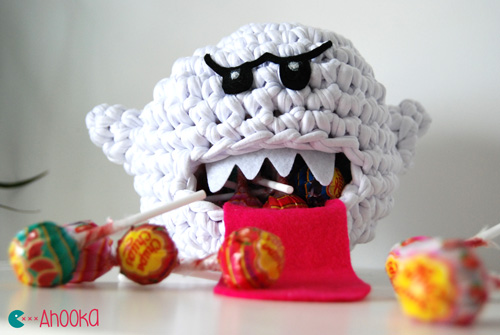
Now that you know everything about T-shirt yarn, what about making a gigantic amigurumi ?
Abbreviations :
ch = chain
st = stitch
sc = single crochet
inc = increase (2 sc in a st.)
dec = decrease (crochet 2 sc together – I use the invisible decrease technique whenever it’s possible)
Additional material:
– Rose, black and white felt (or a white marker)
– Fabric glue or wood glue (which works just fine with felt)
Copyright
This free pattern (or parts of it) may not be reproduced, distributed, sold, translated, published, altered or posted (for sell or for free) over the internet or offline. However, you can sell items made from this pattern, provided that they are handmade by yourself and you add the the following lines to your item description : ” This item is handmade by ….. from a design and pattern by ©Ahooka / www.ahookamigurumi.com.”
Body :
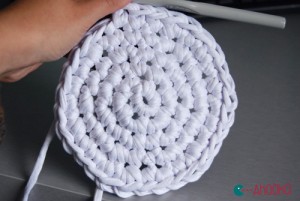
R1: sc6 in a magic ring (6)
R2: inc x6 (12)
R3: (sc, inc) x6 (18)
R4: (sc2, inc) x6 (24)
R5: (sc3, inc) x6 (30)
R6 to 10: sc in each st around (30)
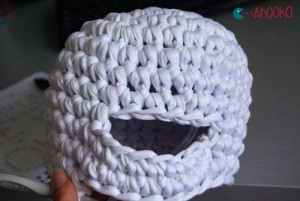
R11: ch 9, skip 5 st. sc in the 6th, sc in each st until the end of the round (34)
R12: sc in each st around (34)
R13: dec, sc6, dec, sc7, dec, sc6, dec, sc7 (30)
R14: (sc3, dec) x6 (24)
R15: (sc2, dec) x6 (18)
R16: (sc, dec) x6 (12)
R17: dim x6 (6)
Close and fasten off
Tail :
R1 : 4sc in a magic ring (4)
R2 : (sc, inc) x2 (6)
R3 : (2sc, inc) x2 (8)
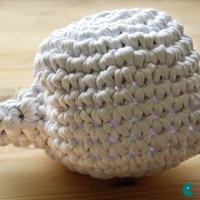
R4 : inc x5 and don’t finish the round, that’s what will make the tail looks like it was pointing up.
Wings :
R1 : sc4 in a magic ring (4)
R2 : (sc, inc) x2 (6)
R3 : (sc2, inc) x2 (8)
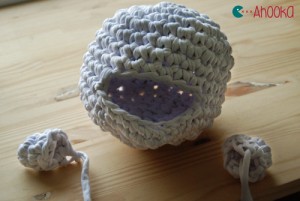
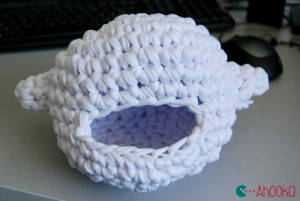
Then, assemble all the pieces with your big tapestry needle
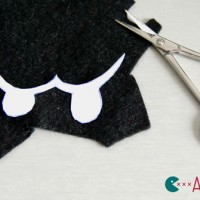
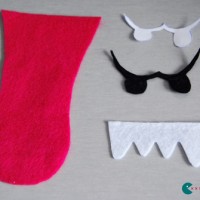
Cut the tongue, teeth and eyes out of your felt and glue it ! (click on the pictures to enlarge them)
Aaaaaaand you’re done !
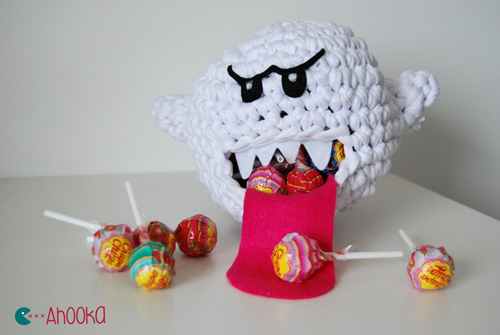
If you make a T-shirt yarn Boo using this pattern, I’d be glad to see it ! Feel free to post a picture on my facebook page, I’ll add it to the “made by you” album !

