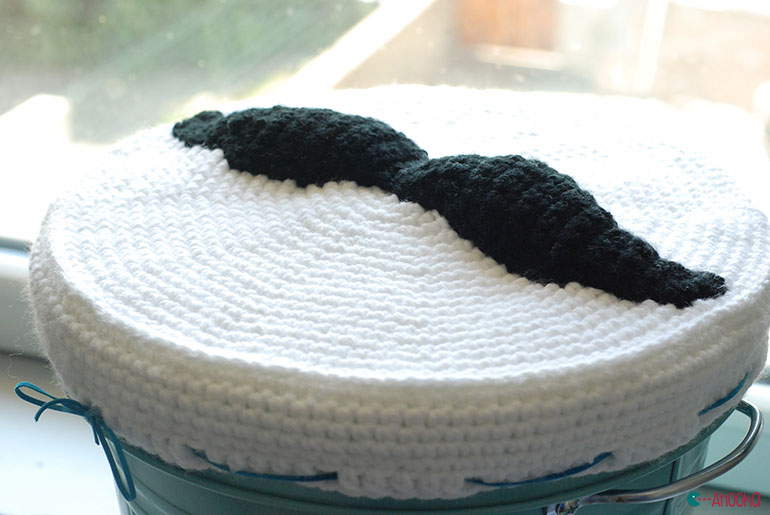
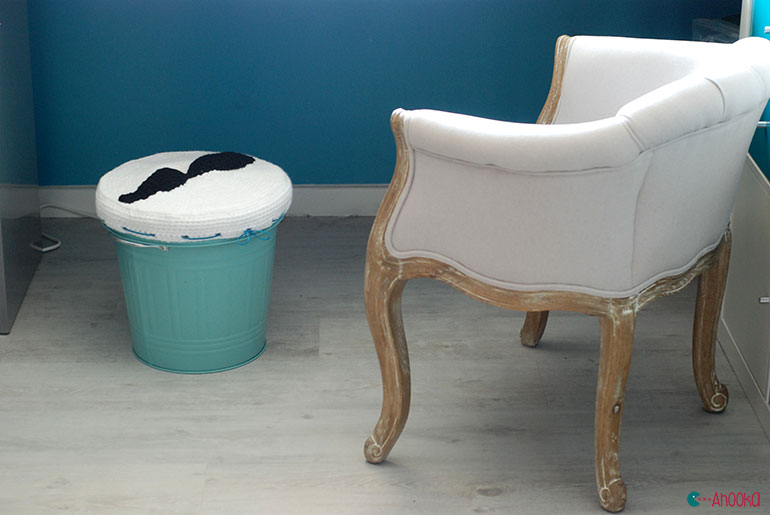
I often crochet on my desk, watching a serie, but I was missing something to put my feet on.
As I already had a bin under my desk… I thought “why not transform it into a footrest?” and so I went for it ! Here is how I made it !
1. Material
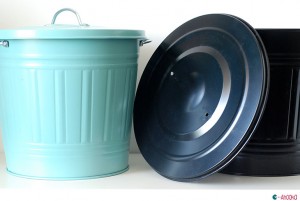
– Ikea Knodd bin
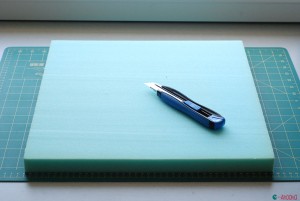
– Foam for chairs
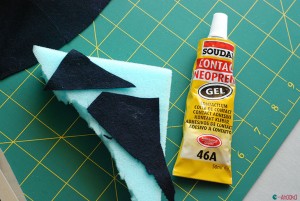
– Contact glue
– A piece of fabric, slightly larger then the bin’s lid
– Worsted weight yarn and a 4mm crochet hook
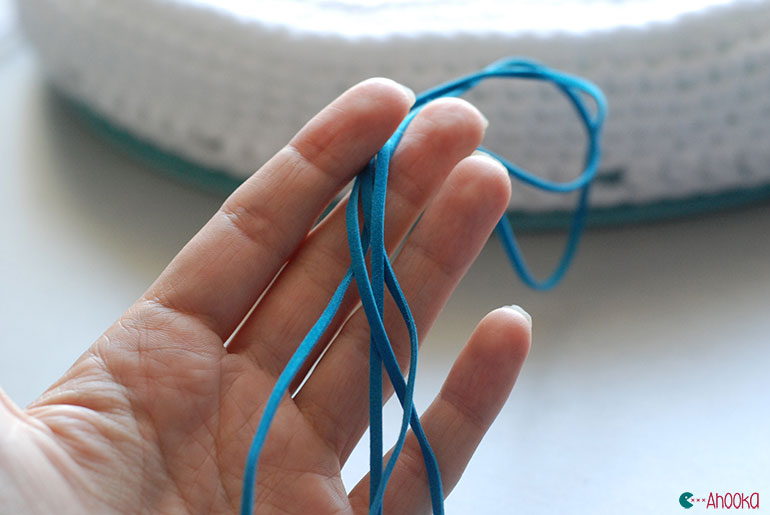
– (optionnal) a ribbon to surround the lid
2. The cushion
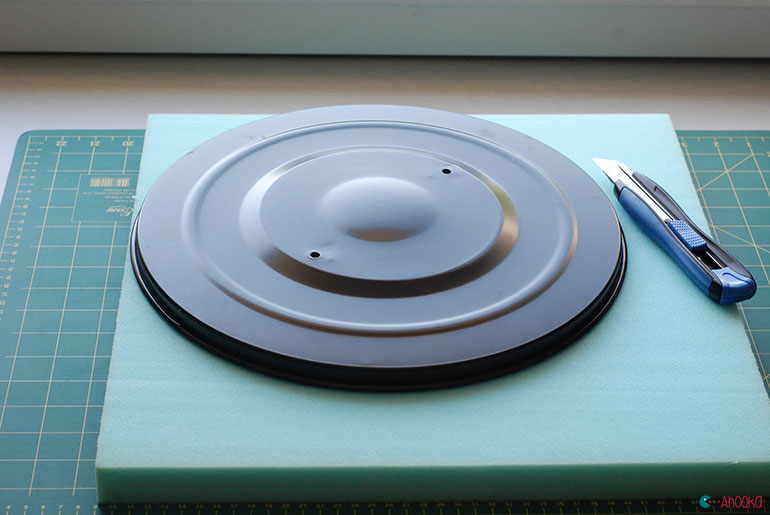
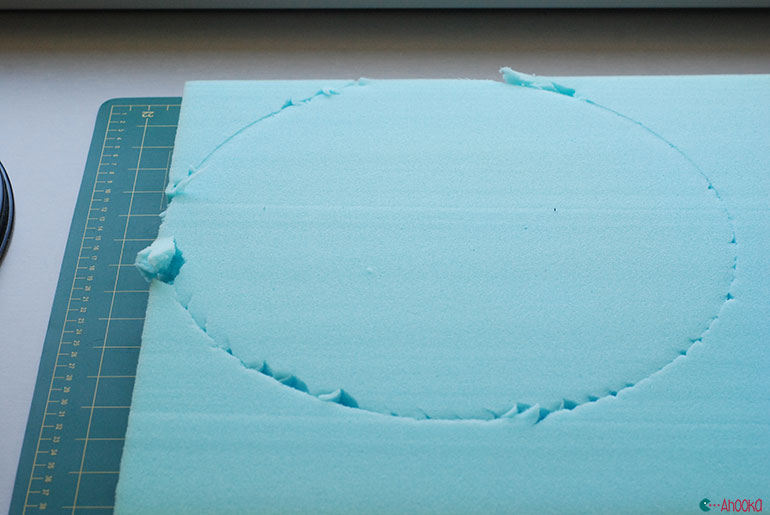
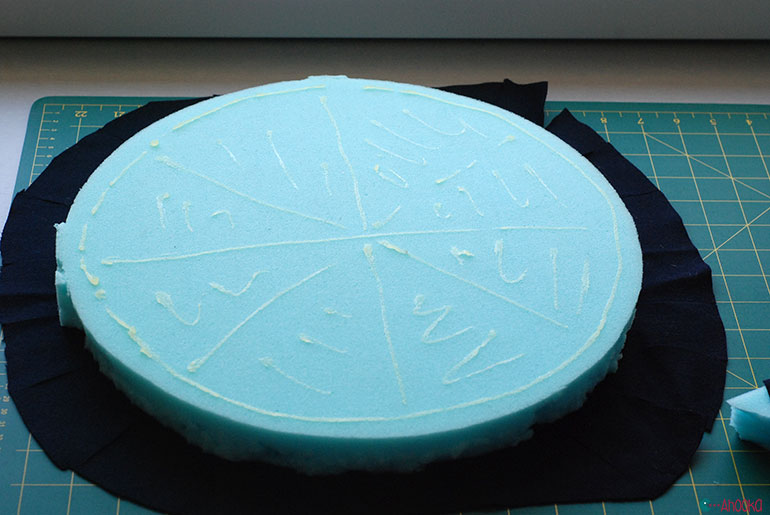
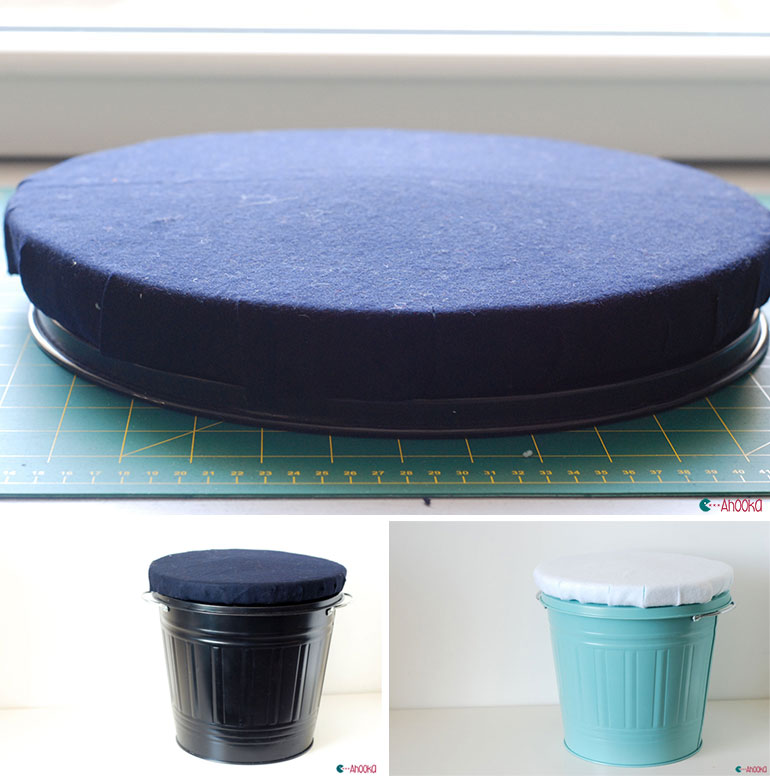
Place the lid over the foam and pre-cut it with your cutter.
Then you can remove the lid and go on cutting the foam.
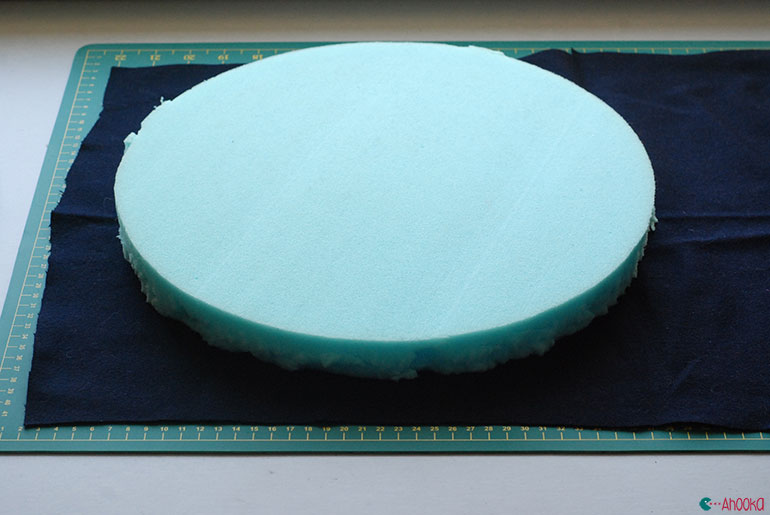
Place the foam circle over your piece of fabric.
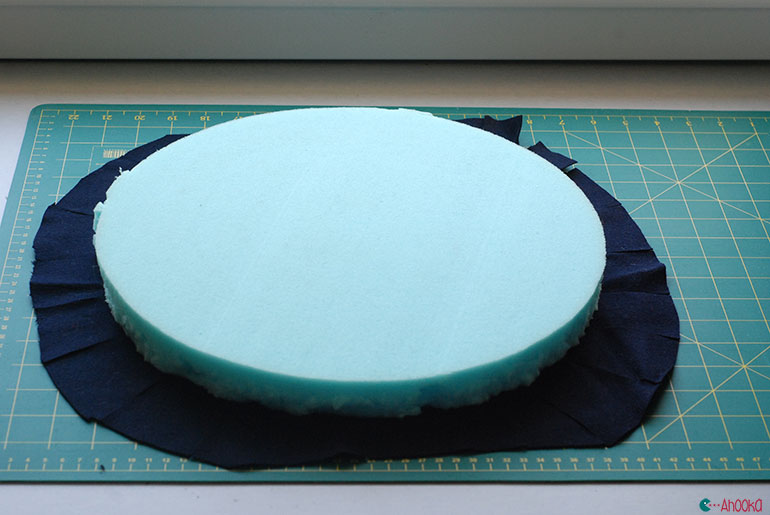
Cut the fabric around it and notch it roughly.
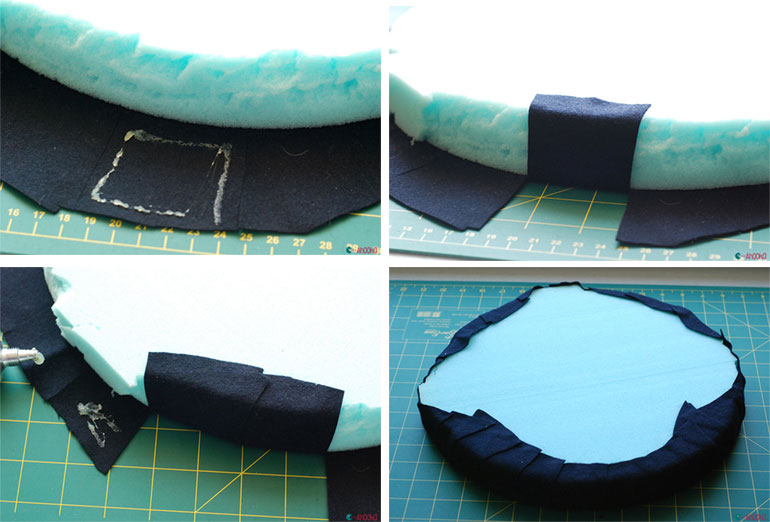
Put some glue over your foam and turn it over the fabric.
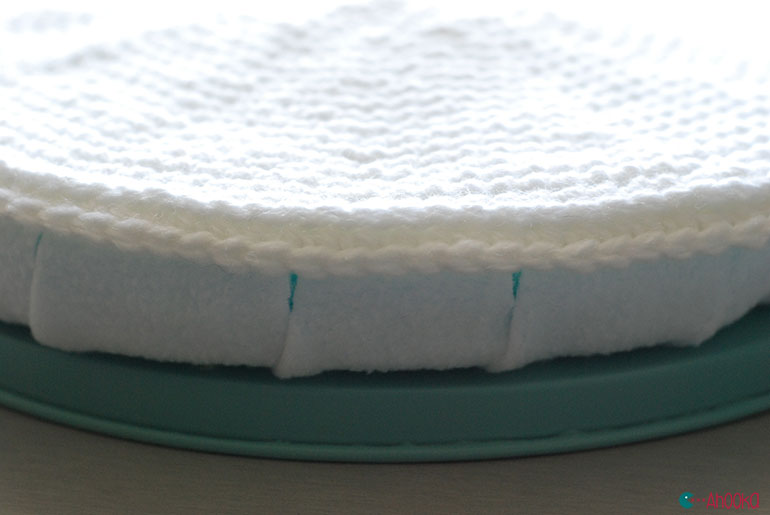
Put some glue on each little piece of fabric and glue them on the foam one by one, as shown on the pictures.
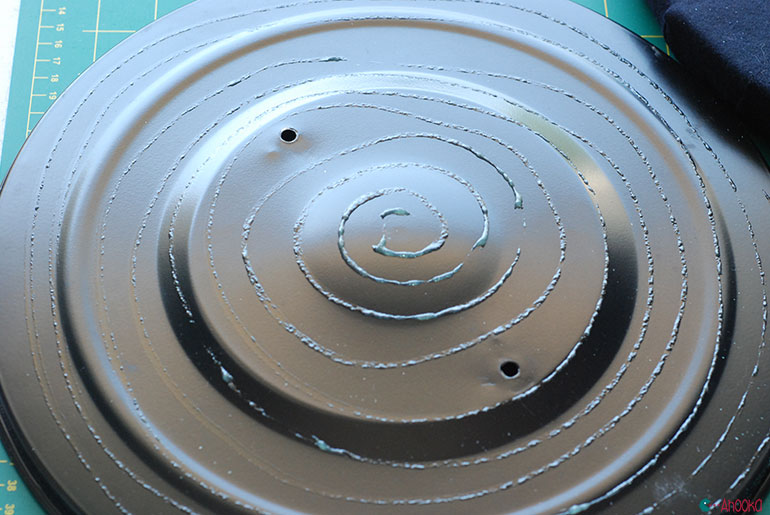
Put some glue on the lid
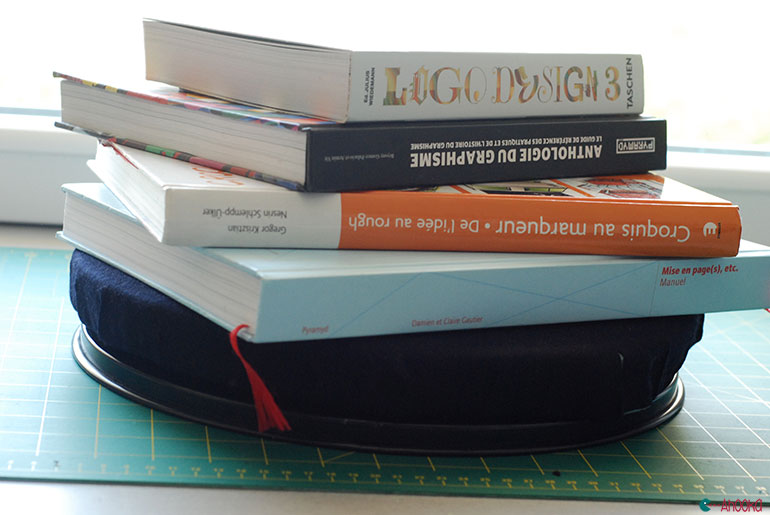
And put your cushion and some books over it, for the glue to do its job well !
That’s it for the first step !
3. The cover
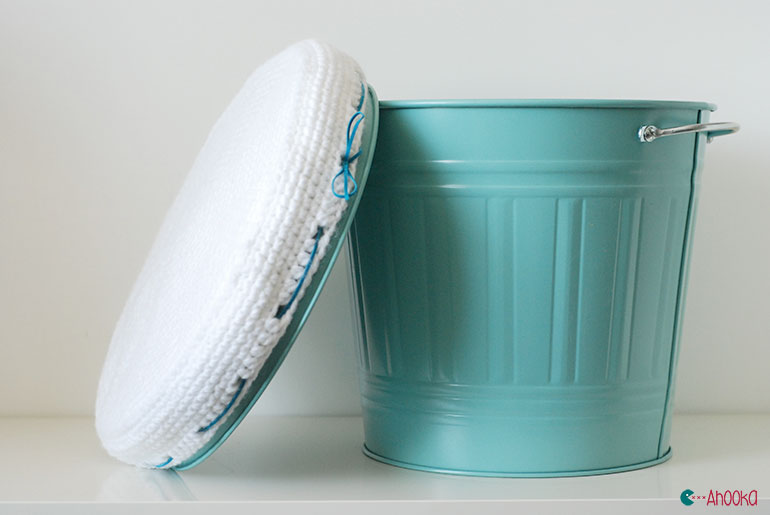
I wanted it to be separate in order to be able to wash it easily so I made it in crochet, but you could as well sew it !
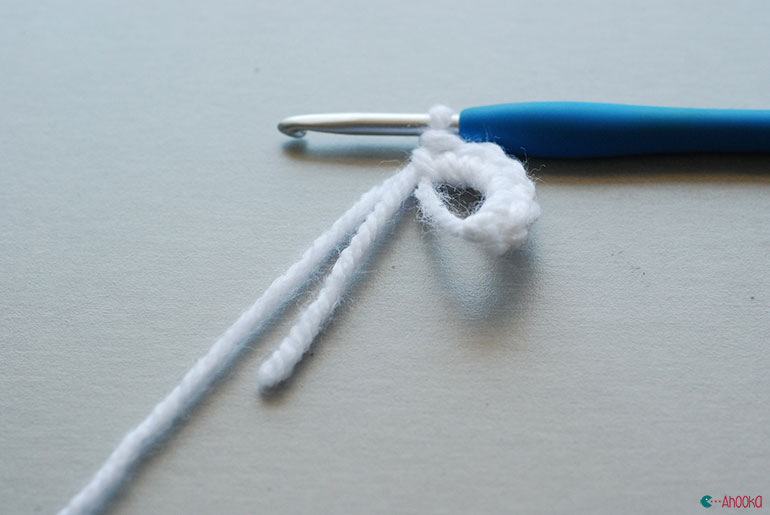
Starting with a magic ring, make 6 single crochets in it, then go on adding 6 single crochets in each rounds (see how to switch your stitches in order to have a perfect circle rather then an hexagon)
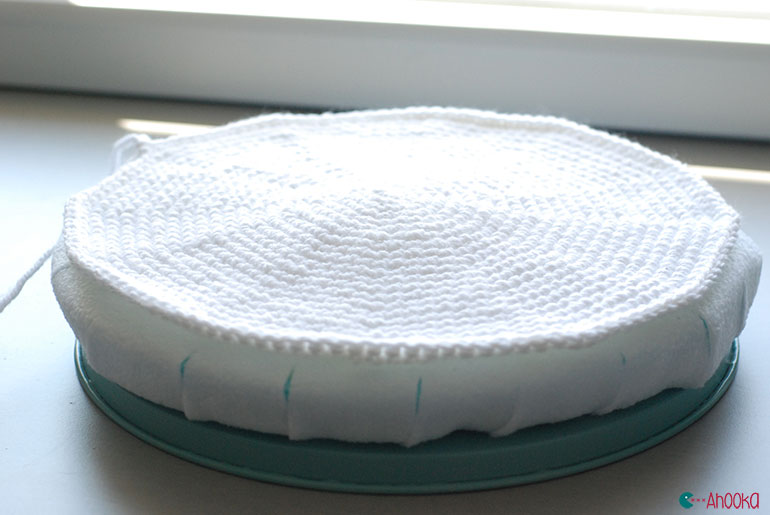
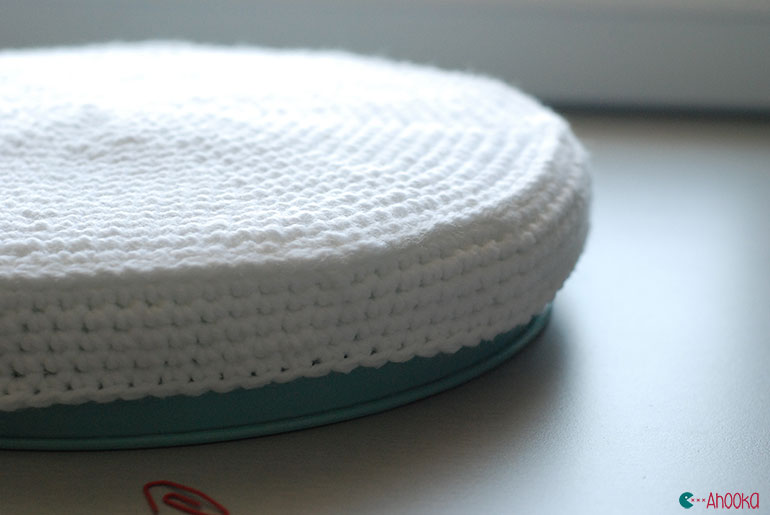
Go on until your crochet circle covers the entire cushion
Then make a rounds of slip stitches
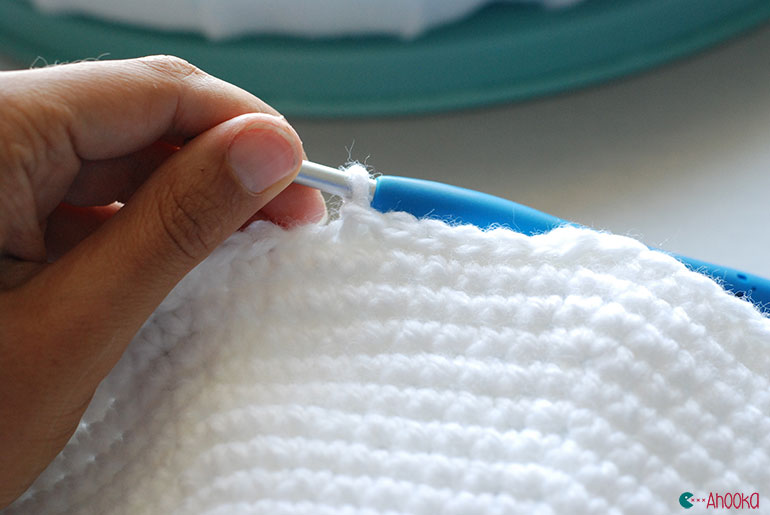
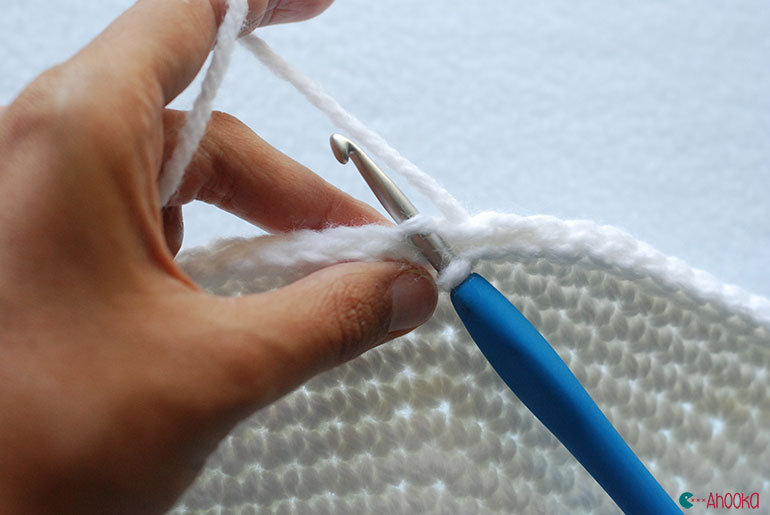
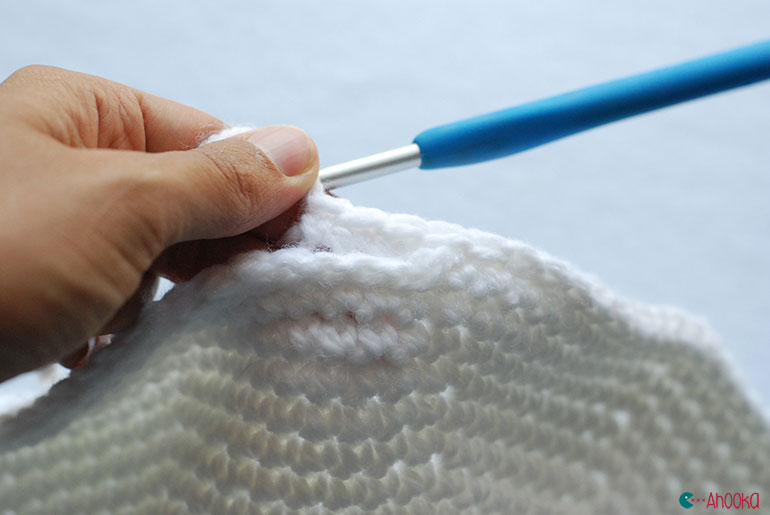
Then another round where you are going to single crochet in the back loop only of the single crochets of the previous round (see pic for a better understanding ^^) an start to decrease so the cover would fit your cushion perfectly (I made 6 decreases in the 2 first rounds and 3 decreases in the others)
That will make a small border.
Go on until the entire cushion is covered.
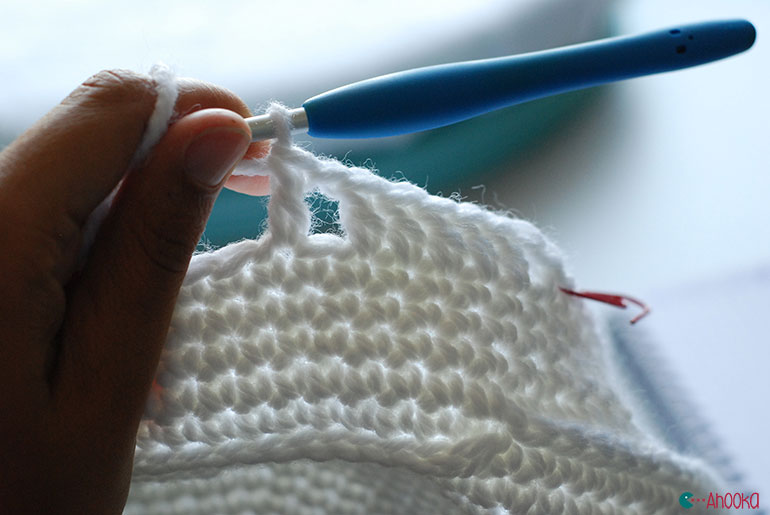
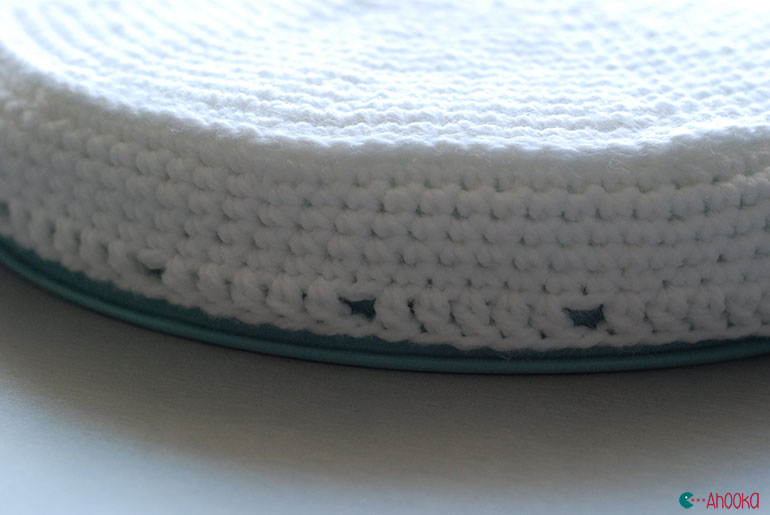
And finish with a row of (5 double crochet, chain 1, skip a stitch) and repeat until the end of the row.
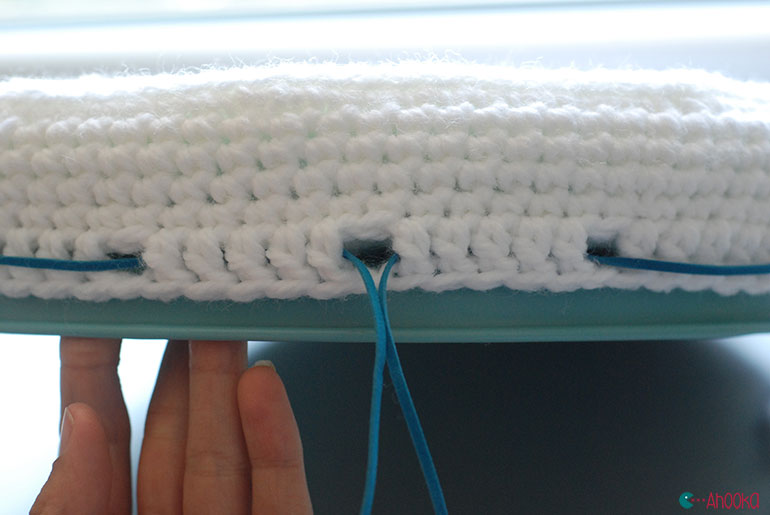
Insert your ribbon into the holes you’ve just made.
And that’s it for the second step !
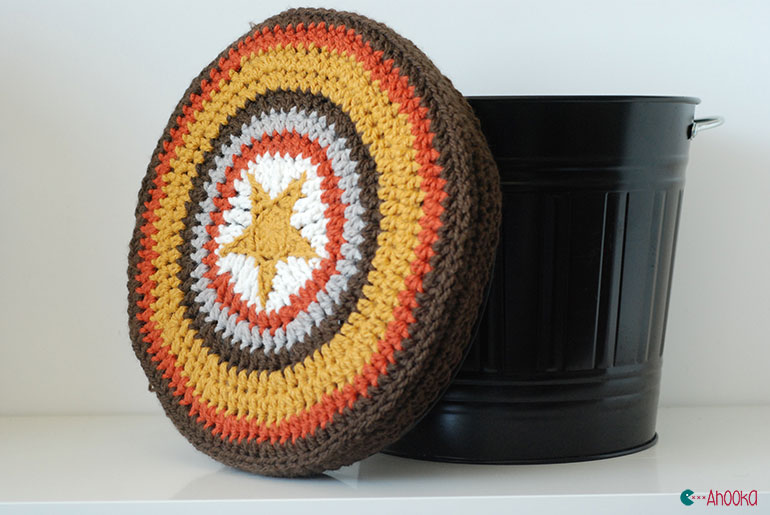
For this cover, I used Captain America coasters tutorial and I’ve added some rows until it covered the entire lid too.
4. Customization
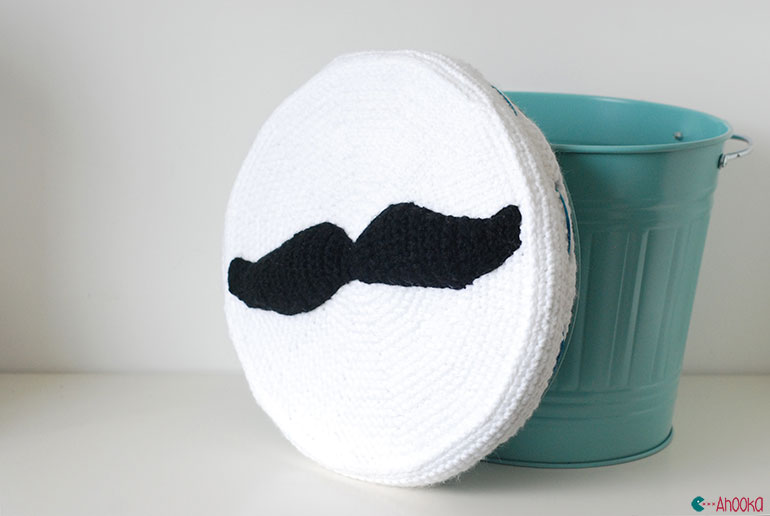
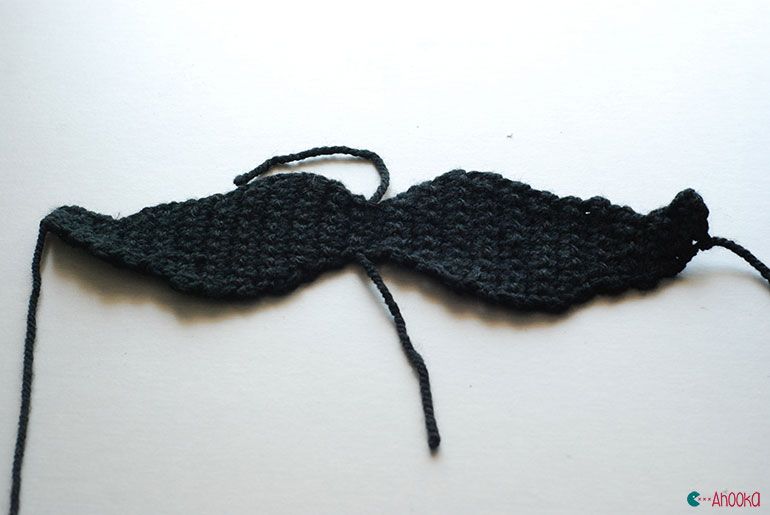
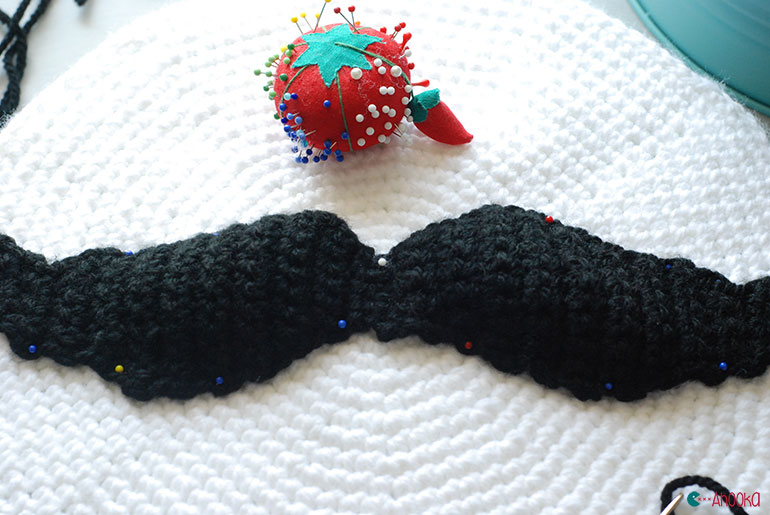
I made a moustache but it could be any other applique really ! As this post is already very long, I won’t add the pattern for the mustache here, but I could make a bonus post about it at the end of the week if you’d like !
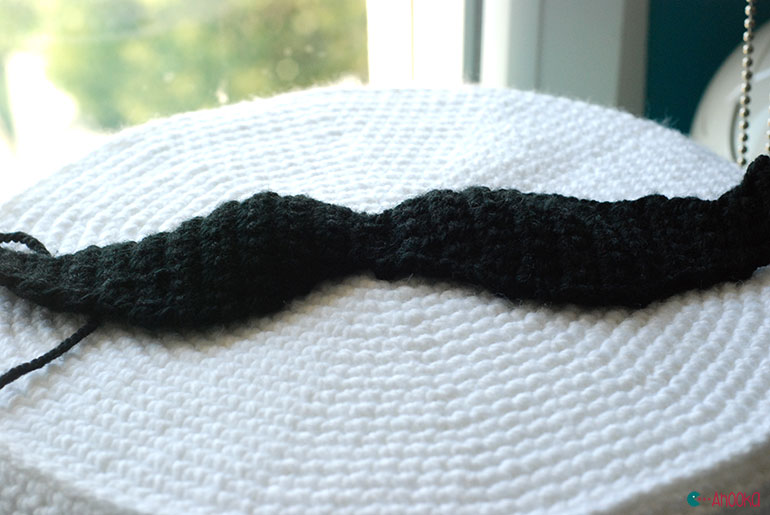
Pin the applique on your cover, giving it a bit of relief like I did if you’d like.
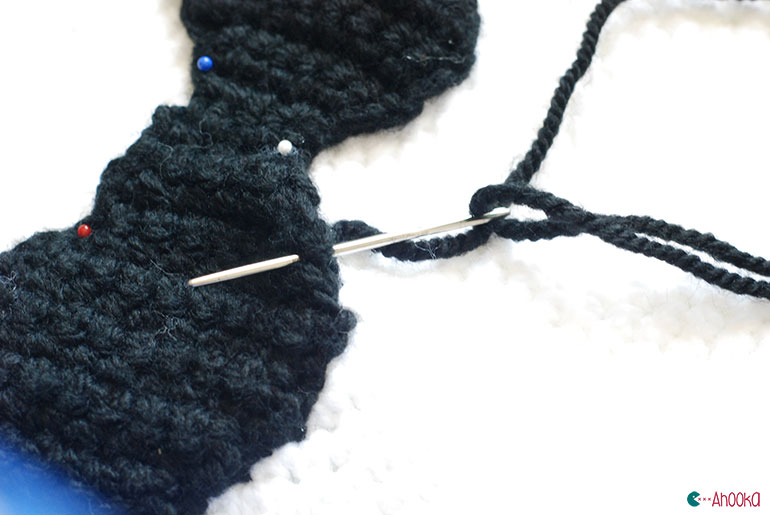
Sew it on with the same yarn you used to make it and a tapestry (or yarn) needle.
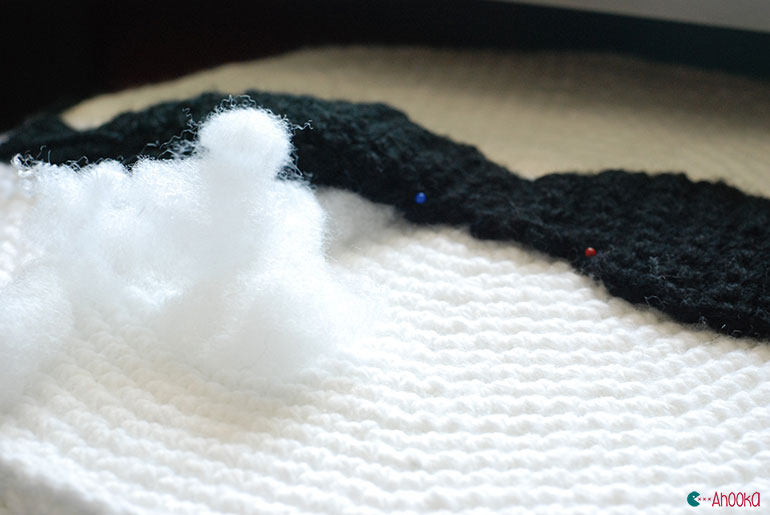
Stuff it a little bit.
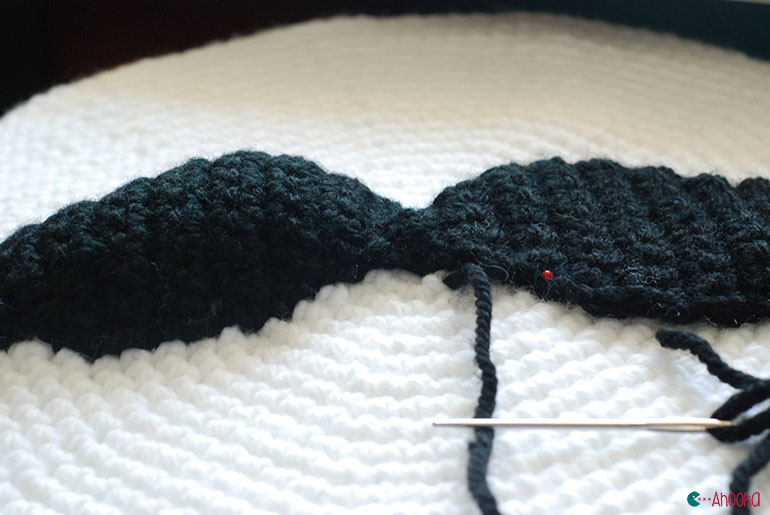
And that’s it ! Weave in the ends and you’re done !

