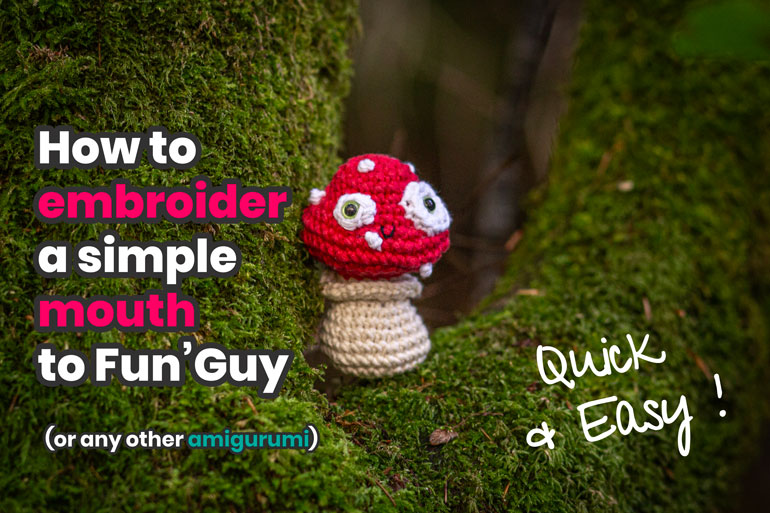
It’s 11:54 PM, you have work tomorrow, and you’ve just finished your latest amigurumi (because, once again, you couldn’t wait until tomorrow to go to bed at a reasonable hour). All that’s left is to embroider the mouth. The instruction seems simple enough: “Embroider the mouth.”
Oh.
But how do you even make that little curve?
2:30 AM, 423 attempts later, with fiberfill escaping from every pore of your amigurumi, you think, “Maybe embroidery just isn’t my thing.” You go searching for an indelible black marker and… Nooo, wait!!
I’ve got a little video for you ;)
If written instructions can help you: thread a piece of black embroidery floss onto your needle. Insert it into your amigurumi from the back and let it hang a bit. Come out at one corner of the mouth, then insert your needle at the other corner, one stitch away, and finally come out one stitch lower, between the two corners. Don’t pull too tight, because now you’re going to pass under the little line formed with your needle to bring it downward and give it a “U” shape. Insert your needle at the same spot and come out where you left the beginning thread hanging to tie the two ends together. Then push the knot inside the amigurumi.
And there you go!
Feel free to ask me your questions in the comments; I’ll be happy to answer! And if you haven’t downloaded the (free) Fun’Guy pattern yet, you can find it here:
PS: In a few days, I will also be publishing a video on how to do French knots, so stay tuned :)


The pattern is adorable. Thank you a lot.
My pleasure Thaisa !! :)